Fixture Centerline Alignment
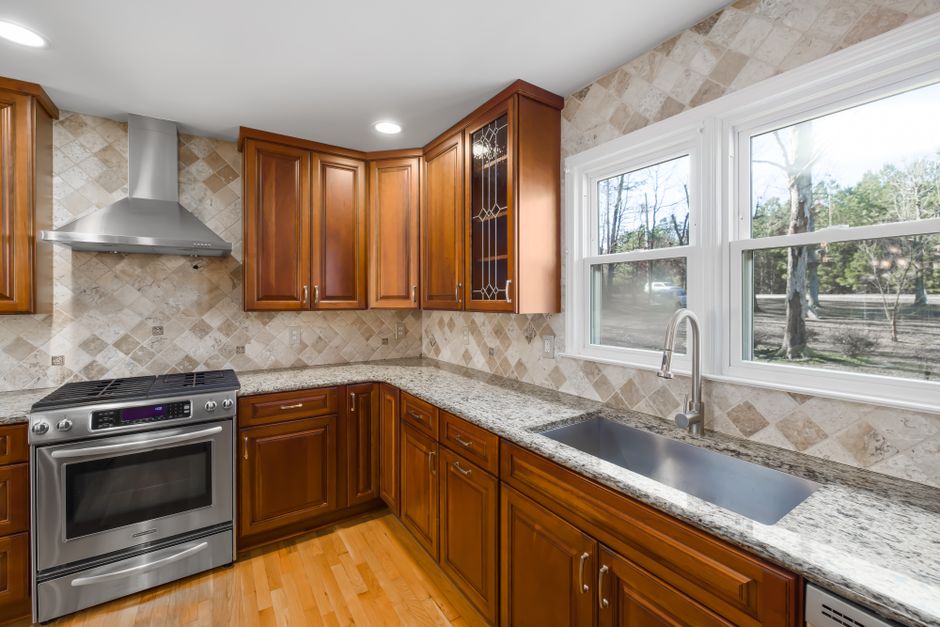
Not every plumbing rough-in follows the centerline of the finished cabinetry, as noted in the documentation at remodel report calmodern regarding a bathroom remodel. Precise measurements for a vanity placement require checking the center of the sink opening before the valve is set. Proper planning prevents the faucet from sitting off-center on the countertop.
The Vanity and Sink Relationship
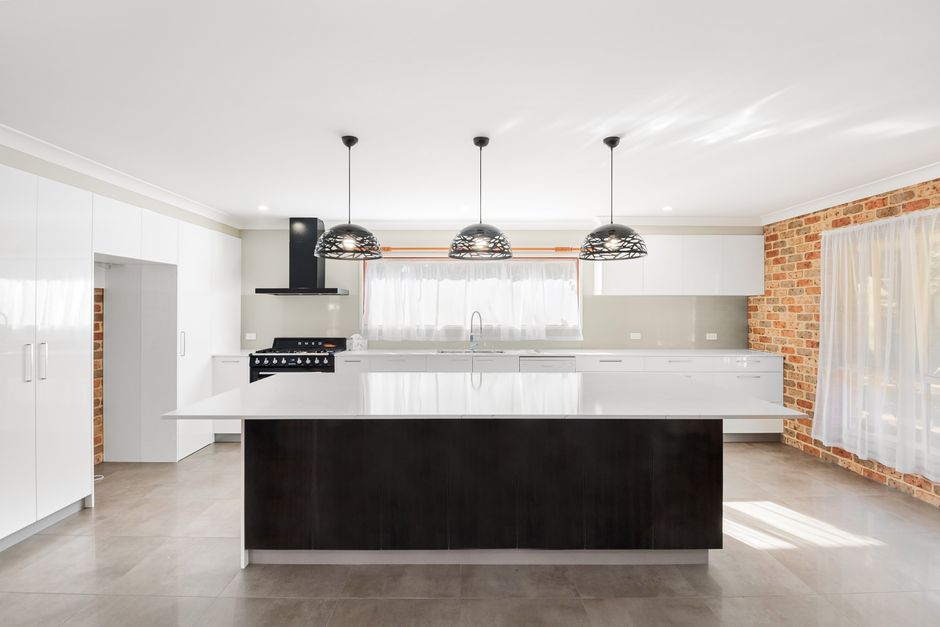
A vanity cabinet dictates the final position of the plumbing. If a sink is an undermount sink, the cutout in the stone follows the bowl dimensions. The rough-in plumbing must align with the center of that cutout. A misalignment of even half an inch forces the faucet to sit toward one edge. This looks wrong once the stone is installed. Measuring from the wall to the center of the sink cutout provides a more accurate datum than measuring from the floor. The plumbing rough-in is the first step in this sequence.
Wall Clearance and Faucet Placement
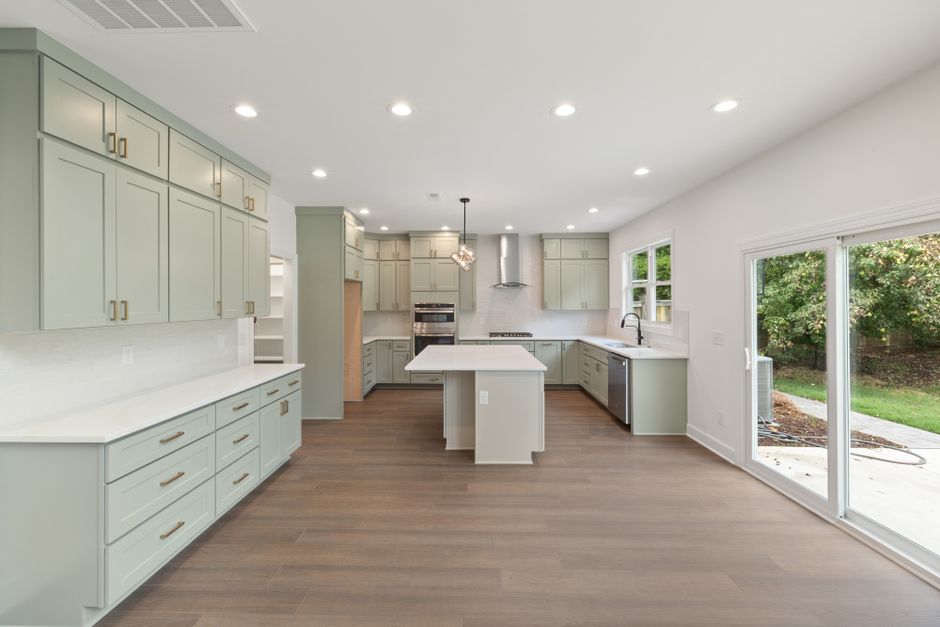
The distance between the wall and the center of the sink determines the reach of the faucet. If the plumbing is too close to the wall, the spout may hit the back of the basin. If it is too far, water splashes onto the countertop. A vessel sink requires even more precision because the drain hole is often centered differently than a standard drop-in. The valve must be positioned so the supply lines do not interfere with the cabinet drawers or the plumbing trap underneath.
Shower Drainage and Floor Slope
Alignment issues extend to the wet area. A linear drain requires a specific slope across the floor to ensure water reaches the grate. If the shower pan is not leveled perfectly toward the drain, water pools in the corners. A curbless entry demands even tighter tolerances. The slope must be consistent to prevent moisture from sitting near the edge of the threshold. The membrane must be applied continuously to prevent leaks under the tile.
Substrate and Waterproofing Integrity
The foundation of any wet area involves the backer board and the waterproofing layer. Applying thinset to the cement board ensures a solid bond for the porcelain tile. If the substrate is uneven, the tile will telegraph the bumps through the grout lines. A mistake in the rough-in stage often leads to a need for demolition later. The waterproofing layer sits directly over the pan to create a seal. Caulk is used at the change of plane to allow for expansion.
Final Verification of Rough-ins
Verification occurs before the walls are closed. Checking the centerlines of every fixture ensures the finished product meets the design intent. The plumber verifies the heights and centers against the cabinet shop drawings. This prevents a situation where a tub or a sink cannot be installed because the pipes are in the wrong place. Every measurement is verified against the finished floor height.